

- News
- Reviews
- Bikes
- Accessories
- Accessories - misc
- Computer mounts
- Bags
- Bar ends
- Bike bags & cases
- Bottle cages
- Bottles
- Cameras
- Car racks
- Child seats
- Computers
- Glasses
- GPS units
- Helmets
- Lights - front
- Lights - rear
- Lights - sets
- Locks
- Mirrors
- Mudguards
- Racks
- Pumps & CO2 inflators
- Puncture kits
- Reflectives
- Smart watches
- Stands and racks
- Trailers
- Clothing
- Components
- Bar tape & grips
- Bottom brackets
- Brake & gear cables
- Brake & STI levers
- Brake pads & spares
- Brakes
- Cassettes & freewheels
- Chains
- Chainsets & chainrings
- Derailleurs - front
- Derailleurs - rear
- Forks
- Gear levers & shifters
- Groupsets
- Handlebars & extensions
- Headsets
- Hubs
- Inner tubes
- Pedals
- Quick releases & skewers
- Saddles
- Seatposts
- Stems
- Wheels
- Tyres
- Health, fitness and nutrition
- Tools and workshop
- Miscellaneous
- Buyers Guides
- Features
- Forum
- Recommends
- Podcast
feature
Is the Insta360 GO 2 a good camera for cycling?
If you're looking for a camera to capture your cycling fun then the Insta360 GO 2 has some things that make it easy to recommend, and some things that make it a bit of a pain. Here are the pros and cons.
I’m looking at the GO 2 specifically for cycling, based on my experiences of using it on a week’s cycling holiday in southern Spain. Which, incidentally, I can very much recommend.
> How to buy the best bike camera, + 7 of the best
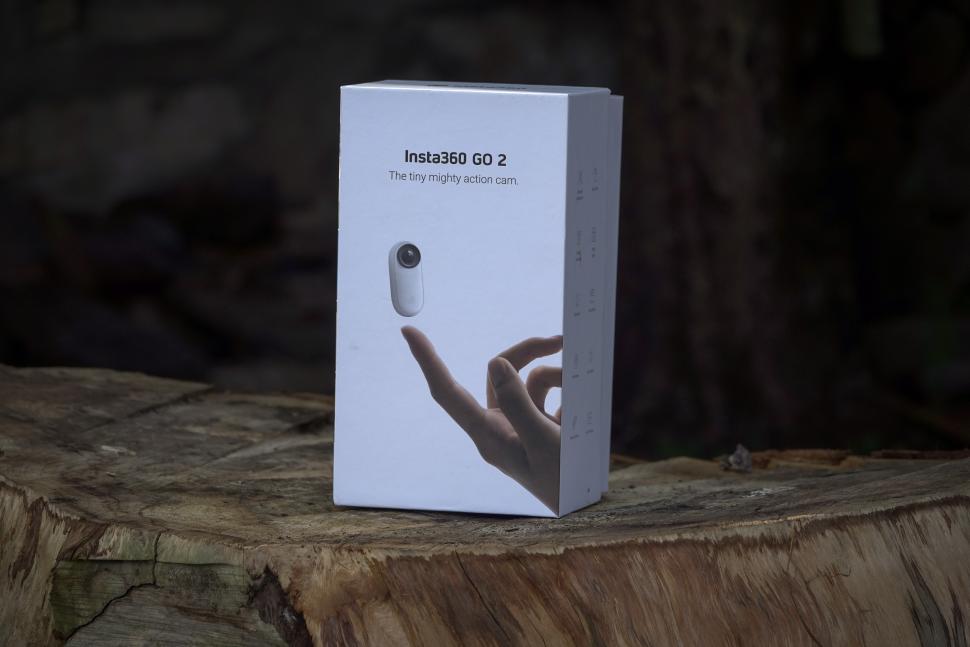
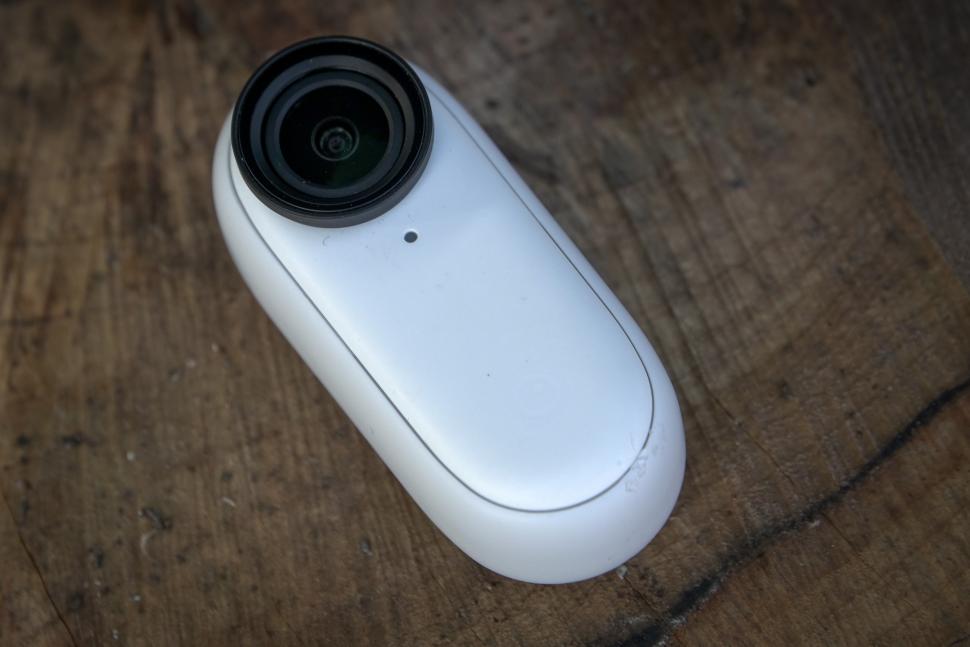

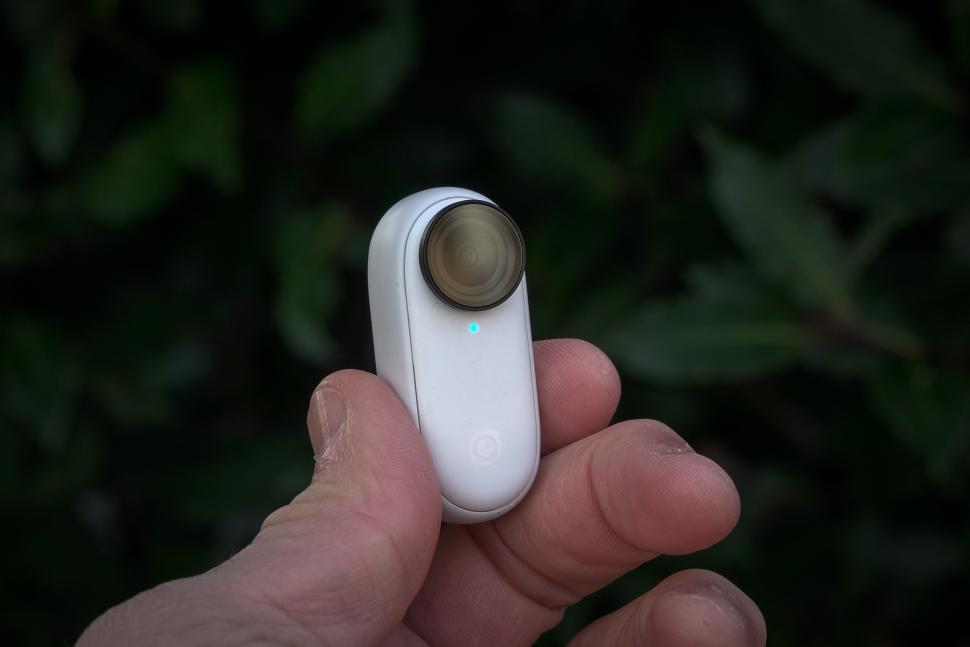

The first thing you’ll have noticed about the GO 2 is that it’s tiny. I mean, tiny and it weighs nothing.
For a camera that’s so small, the picture is really good. The GO 2 can record in up to 1440p and 50 frames per second with bit rates of up to 80 Mbps (megabits per second), and you get 120 frames per second slo-mos in full HD. That’s enough figures for the time being.
On top of that, you get image stabilisation and horizon levelling. The camera shoots a file with the full field of view visible. That means you have to do some processing on the files after shooting to get what you want which, like a lot of things with the GO 2, is both a blessing and a curse. More on that in a bit.
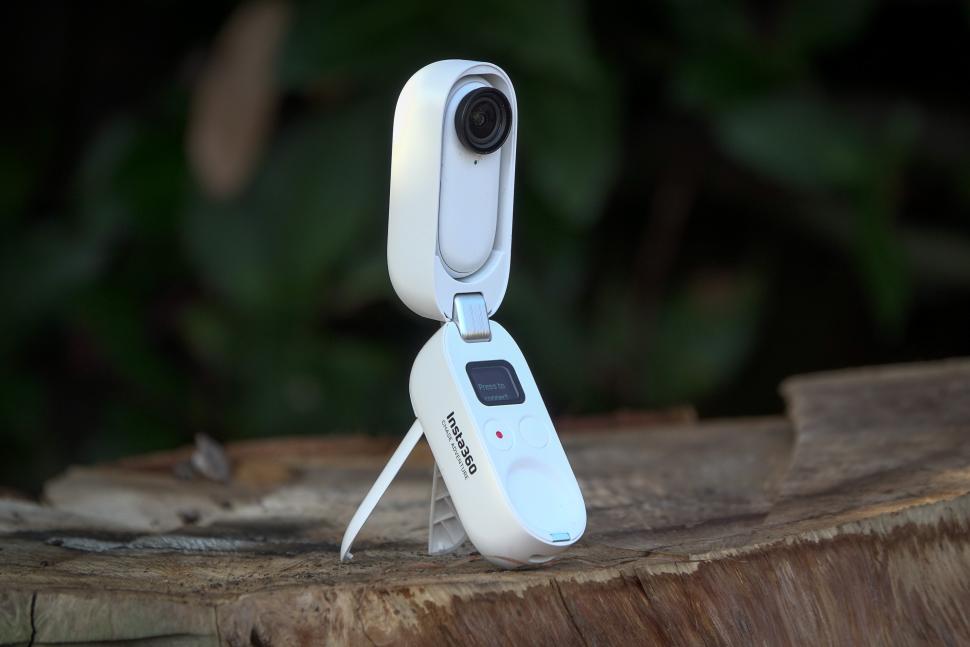
The diminutive camera isn’t all you get. You also get a case that doubles as a controller… which also doubles as an extra battery… which also doubles as a wireless connection to your phone. It’s the rest of the camera.
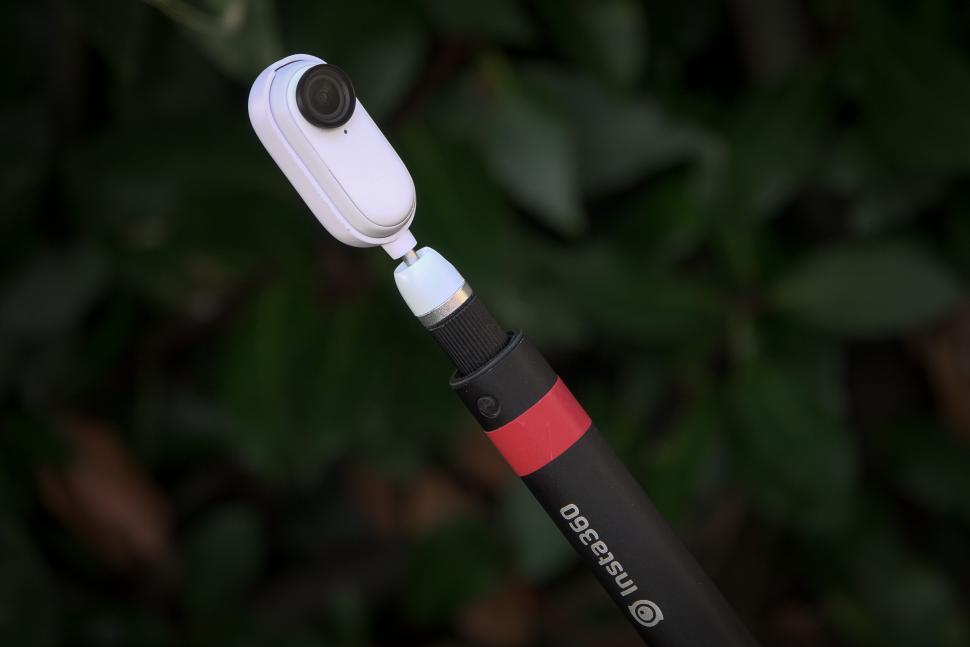
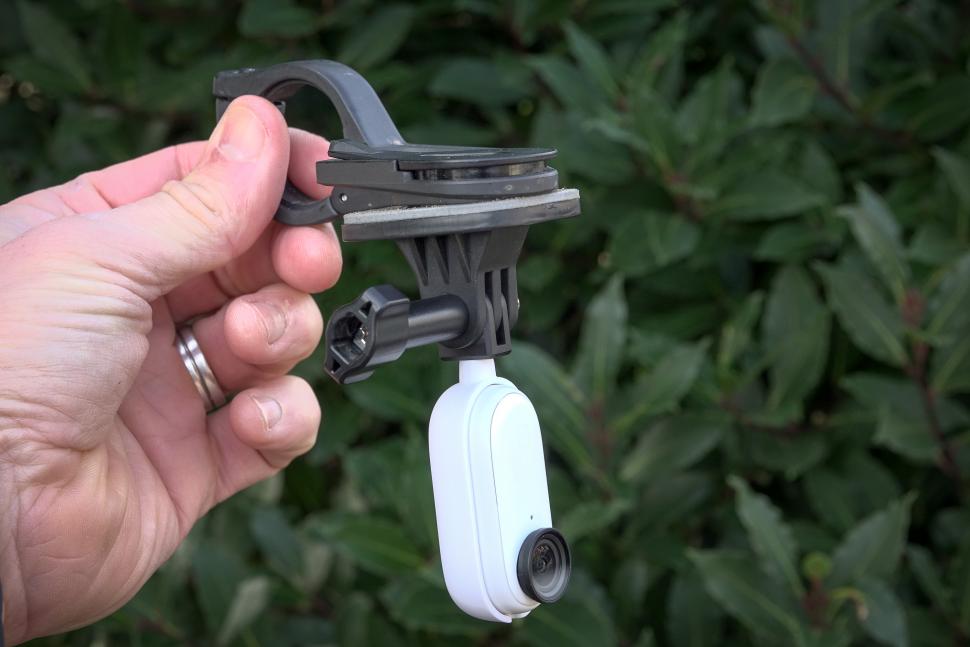
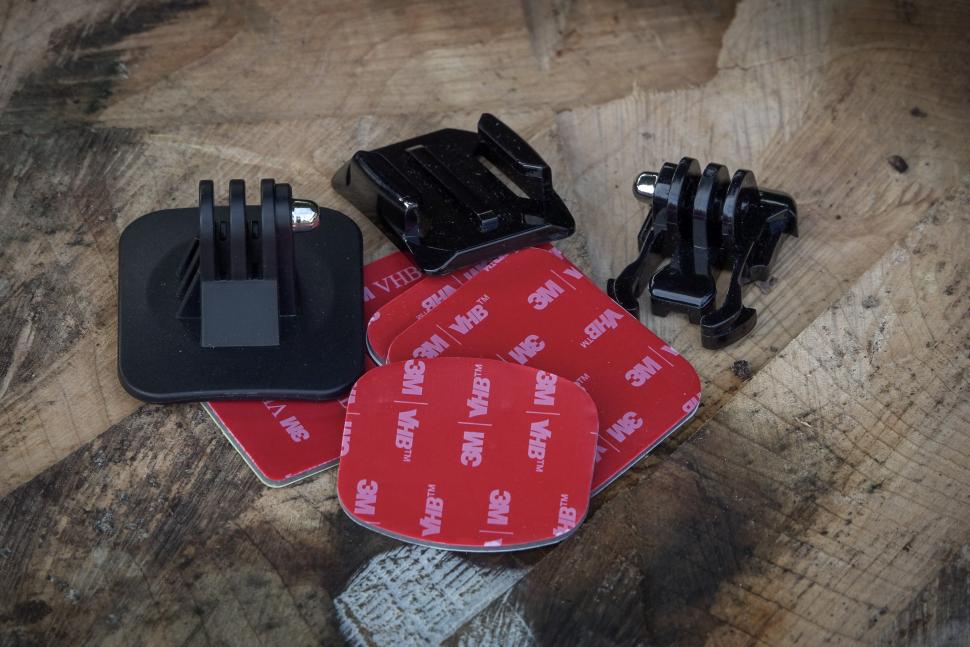
The two bits clip together using a magnetic connection. You can magnetically connect the camera to other things too: there’s a magnet holder that has a GoPro mount, which I used a lot for the POV (point of view) stuff I shot.
I stuck the mount that Insta 360 supplied to the bottom of my out-front Hammerhead mount, and that worked a treat. There’s a thread mount holder too which you can put on the end of Insta360’s excellent selfie stick. Those two mounts work well.
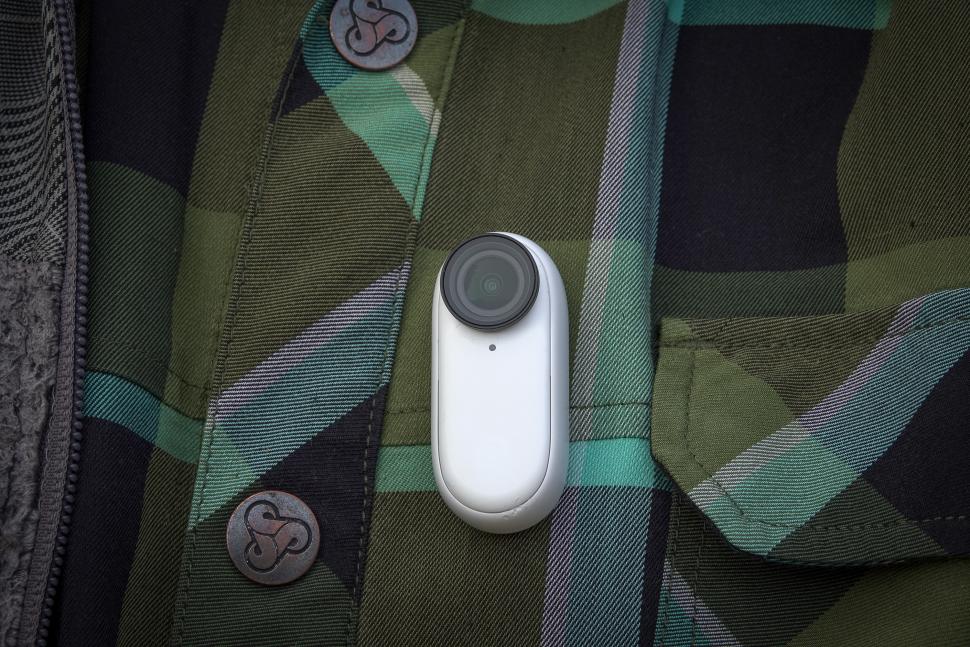
The other mounts are a little less effective. You get a pendant one which you can wear under a shirt, so you can just stick the camera to your body. It’s okay walking about town but it doesn’t work so well on the bike because your chest is pointing down at the floor a lot of the time. I did put it in my sleeve and use it like that, which worked, although it wasn’t any more effective than the out-front mount and felt a bit riskier as the magnet isn’t incredibly strong.
There’s another mount that has a sticky pad on the bottom and a universal joint. It worked well when I stuck it to the inside of the car windscreen to get a driving shot, but when I stuck it to the top of the car it fell off after about three minutes. My advice would be not to stick it where you won’t see it fall off, just in case it does exactly that.
On my first day of riding, I just took the camera without the case. This was not a success. You won’t be surprised to learn that the battery in this little camera doesn’t last a very long time. I got about 20 minutes of footage before it conked out.
Also, without the case, you’re limited to shooting in whatever modes you’ve chosen beforehand. The camera itself has one button – well, the whole front is one button really. When you connect the camera to your smartphone using the Insta360 app you can choose what it does if you click it, or double click it, and you can have separate settings depending on whether the camera is on or off.
That was too confusing for me so I just set the camera to record in maximum resolution for a single click and to do a sped-up TimeShift for a double click.
The button is a bit awkward and it’s easy to click it by mistake when you’re wrestling it out of one of the magnetic mounts. It vibrates to let you know you’ve done that, but you don’t always feel it.
A few times I accidentally turned the camera on when I picked it up to do some handheld stuff and then turned it off when I thought I was turning it on. I got the hang of it over the week though. You can set the camera to stop recording after a set time so at least you don’t run the battery down recording the inside of your pocket for half an hour.
"Tired of road crime": famous camera cyclist CyclingMikey on the road.cc Podcast
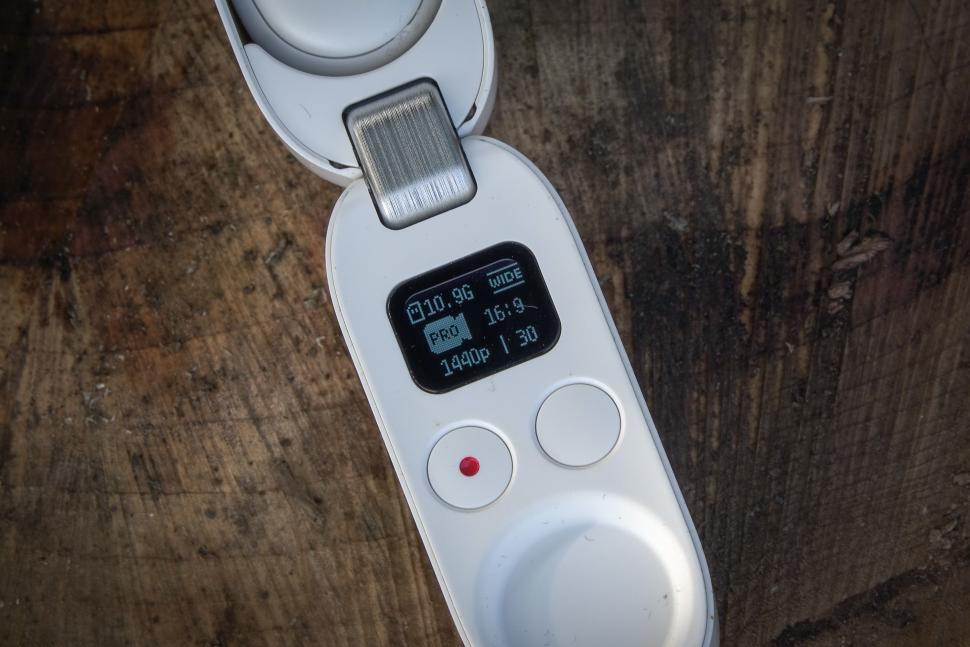
From day two onwards I took the case with me. If you do this it means the camera isn’t any smaller than a GoPro. You can access all the settings and shooting modes from the case, although it’s a bit of a fiddle, and you get a more positive record button.
The case also doubles as a neat little tripod, which I never used. There’s a tripod thread in it too.
The case isn’t waterproof, but the camera itself is, which means that you can jump in the pool with it… although jumping in the unheated pool in winter perhaps wasn’t the best idea.
The little screen shows you the shooting mode, the battery level and also how much space you have left. The camera only has 32GB of memory with no option to extend that. When you’re shooting at 2.7k at 50fps that’s less than an hour, and a couple of times I forgot to free up space and ran out halfway through the day.
You can manage the files on the camera using Insta360’s app, and a lot of the messaging around the camera suggests they expect users to work that way.
Like I said earlier, you’ll need to process the files one way or another, and your two options are the smartphone app or a desktop one. You can also edit directly in Premiere Pro or Final Cut Pro, but the vast majority of folks won’t do that.
Whichever path you choose you can play around with the aspect ratio, so you can have the final video in landscape, square or portrait from the same source file. You can change the camera’s angle of view too, and you can add effects like the TimeShift, crop the video, and change the stabilisation settings. This is a particular favourite feature of mine because you can either set the stabilisation to keep the horizon level, which is great for general shooting, or you can set it to FPV mode where it stabilises the footage but keeps the lean, which is brilliant for on-bike POV stuff, especially if you speed it up too.
In terms of post-processing, it’s a bit of a pain that you have to do it for everything but it’s pretty powerful once you get the idea.
The desktop app is miles better than the smartphone app. It’s quicker and easier to use. You can transfer the files to your computer with the USB-C lead that comes with the camera, and then play around with them to your heart’s content, and export multiple versions of the same file without losing the original.
If you’re doing it on your phone then exporting the files takes ages and once you’ve done it you only have the processed file on your phone. That means that if you then format the camera for the next day you’re stuck with the edit you chose – unless you do multiple edits, which will take all night and use up all your phone’s storage.
The one time I tried to edit all the files from a day’s riding on my phone I nearly cried. Don’t do that. Take your laptop.
On the whole, the GO 2 is a likeable camera. The picture is good and you get a lot of options for making video for different devices providing you’re willing to invest some time in processing your footage. This means it’s really good for making videos for your phone, even if making videos on your phone is less of a strong point given the limitations of most phones in terms of processing and storage.
Nearly all points are both positives and negatives. The miniature camera is fun to use on its own and easy to carry around but you’re limited in how much you can record – both in terms of time and storage – and in the shooting modes you can access.
The single button that’s effectively the whole case makes the camera simple to turn on, but a proper physical button would lead to less phantom recording.
The case is a clever way to add all the extra functionality, but it’s not waterproof and it’s still a bit fiddly. The various mounting options give you a good range of ways to use the camera, but not all of them work as well as you’d like.
Overall, I’d say the Insta360 GO 2 is more hit than miss for cycling, especially if you’re committed to editing your videos rather than just slapping them on YouTube as they fall out of the camera, but it’s a device that can definitely be improved upon in the future.
We'll also be reviewing this camera in full very soon - check our reviews section in the coming weeks for our definitive verdict.

Dave is a founding father of road.cc, having previously worked on Cycling Plus and What Mountain Bike magazines back in the day. He also writes about e-bikes for our sister publication ebiketips. He's won three mountain bike bog snorkelling World Championships, and races at the back of the third cats.
Latest Comments
- Matsea 1 sec ago
What's a good camera that is not expensive for recording motorists behaviour for a cyclists safety?
- Olbol156 6 hours 24 min ago
Thanks for the question. EK Spinner's comment below explains why riding 2 abreast is advisable. We do it more now as a protection and to create a...
- DylanmMackayv 6 hours 40 min ago
During breaks in the Roadcc game, some players might get bored, while others might use the time for a quick break or to chat with fellow players....
- stonojnr 6 hours 56 min ago
been a popular recent theme amongst the local papers, theyre all owned by the same group, its like they get an idea for a story and just keep copy,...
- mattw 7 hours 17 min ago
More expensive than Carradice. Wow !!! I'm sure something else important comes from Nelson. What is it?
- Simon E 7 hours 42 min ago
Joe Dombrowski had a characteristically clear and considered take on it in a chat with the cycling podcast last week. He felt there are a number of...
- galibiervelo 8 hours 12 min ago
I have a pair of their gravel wheels and knocked up 4000km off road without issue and they have done 2 touring trips with 15kg of backpacking gear....
- giff77 8 hours 19 min ago
Totally this. One of my near miss submissions illustrated this. Shoulder check - motorist entering filter lane thinking the vehicle in front was...
- KDee 8 hours 24 min ago
They don't like it up 'em!
Add new comment
1 comments
I had a brief play with a Go2 cam. It's very cute and the white finish and charging case look very up to the minute. I did come away with the strong conclusion that the Go2 sweet spot is making short, minimally edited clips for immediate sharing on socials. As you remarked, proper editing of footage out of an Insta360 cam is a time-consuming multi-stage process involving phone export, Insta editing s/w, and video editing s/w.